
The journal
What is Norwegian style knitting?
Norwegian, or Nordic, knitting refers to a yarn-handling technique. Distinguish the working method from colourwork, follow a matching knit-and-purl lesson and practise on a small sample.
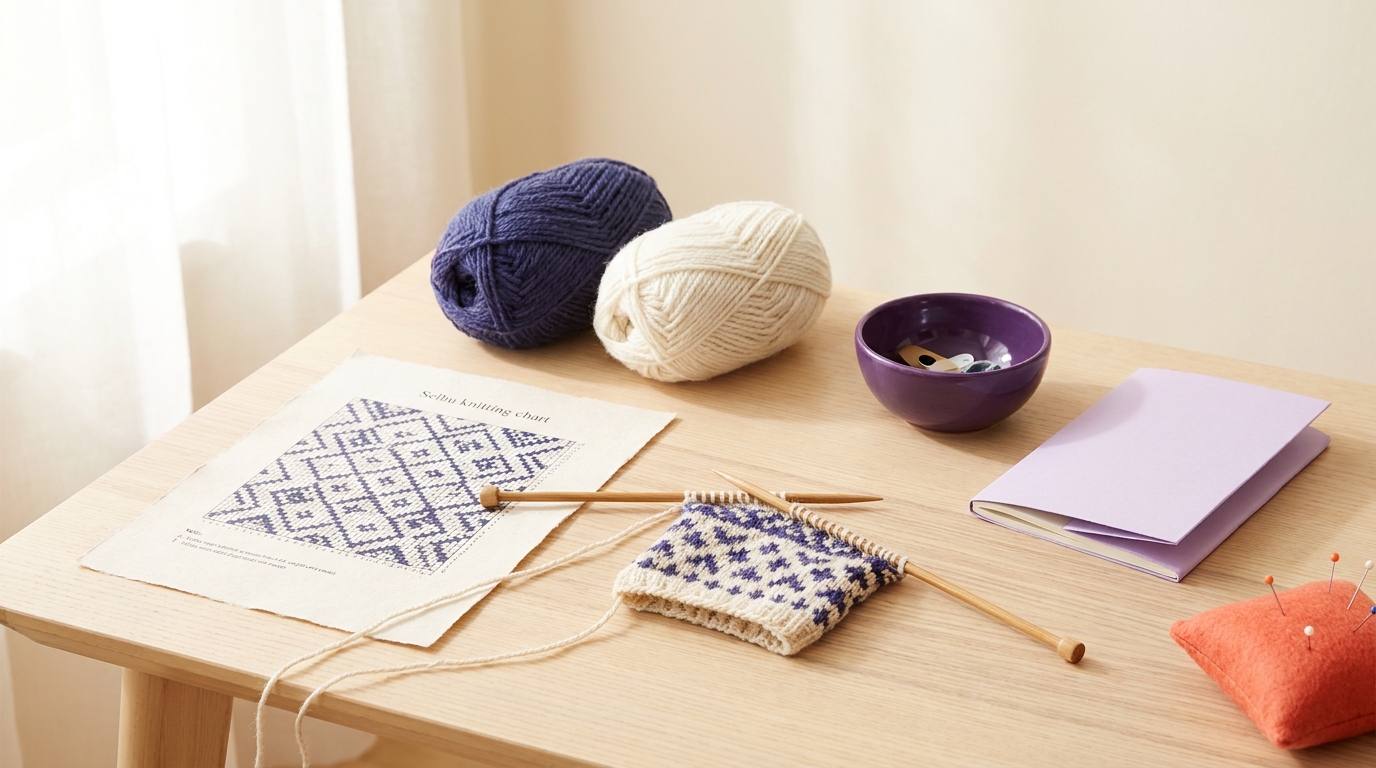
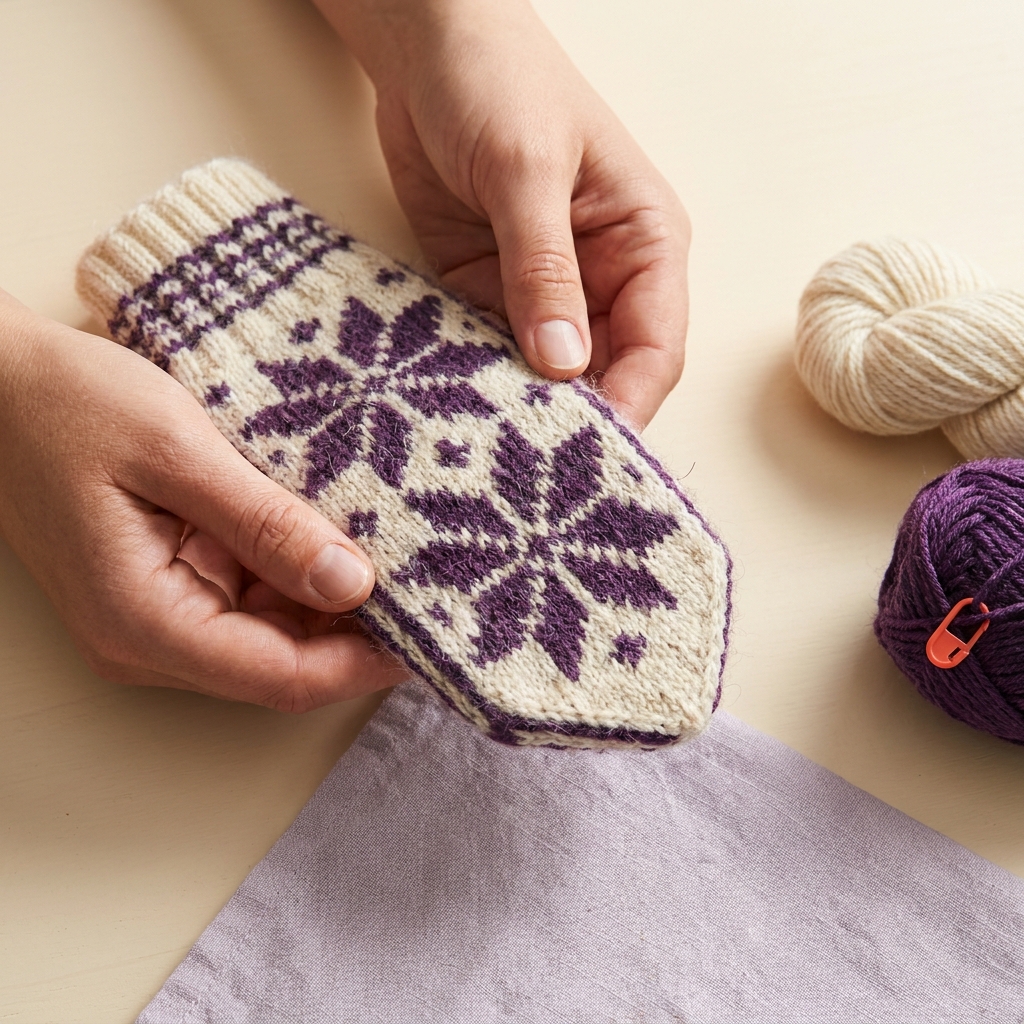
Norwegian style knitting is a way of holding and moving the yarn while making stitches. DROPS Design also calls it Nordic style. It is useful to distinguish that working method from a Norwegian-looking colourwork design: a star motif does not tell you which hand technique made it.
Start with the named technique, not a nationality rule
DROPS’s Nordic-style lessons distinguish Nordic, Continental and UK/US methods by yarn handling. The resulting stitch pattern can look the same. Their Nordic lesson list includes both knitting and purling, so following only a general left-hand yarn hold does not explain the entire method.
If you already use another method, you do not need to change it merely because a pattern has a Norwegian theme. First ask whether the instruction refers to a hand technique, a cast-on or a design. Follow the particular pattern and tutorial rather than assuming those terms are interchangeable.
What to watch in the purl demonstration
In the DROPS Nordic purl lesson, watch how the needle picks up the working strand through the loop and transfers the completed stitch. The maker supplies written notes and an adjustable-speed video. Use those views together when the crossing movement is difficult to follow; a still colourwork illustration is not a substitute for watching the stitch form.
Pause after a stitch, compare the new loop with the demonstration and check that you have transferred one stitch rather than added an accidental extra loop. If the result is unclear, work on a sample instead of changing technique halfway through a garment.
A small practice session
- Choose a plain, light-coloured yarn you can see clearly and a suitable needle size. Use tools you already find comfortable; this is a technique sample, not a shopping list.
- Start with a small sample and count its stitches. Keep the stitch count written down so an accidental increase or dropped stitch is easier to notice.
- Watch the maker’s knit demonstration, then the Nordic purl demonstration separately. Repeat a few stitches slowly rather than trying to match the demonstrator’s pace.
- Stop to inspect both sides. Check the count and loop orientation against the lesson before adding a more complicated pattern.
- Label the sample with the yarn, needles and method used. If you later change method for a sized project, make the pattern’s gauge swatch again.
There is no need to prove that one method is faster for everyone. Judge whether you can form the intended stitches comfortably and consistently. Stop if a position causes pain; changing technique is not a guaranteed treatment for discomfort.
Put this into practice
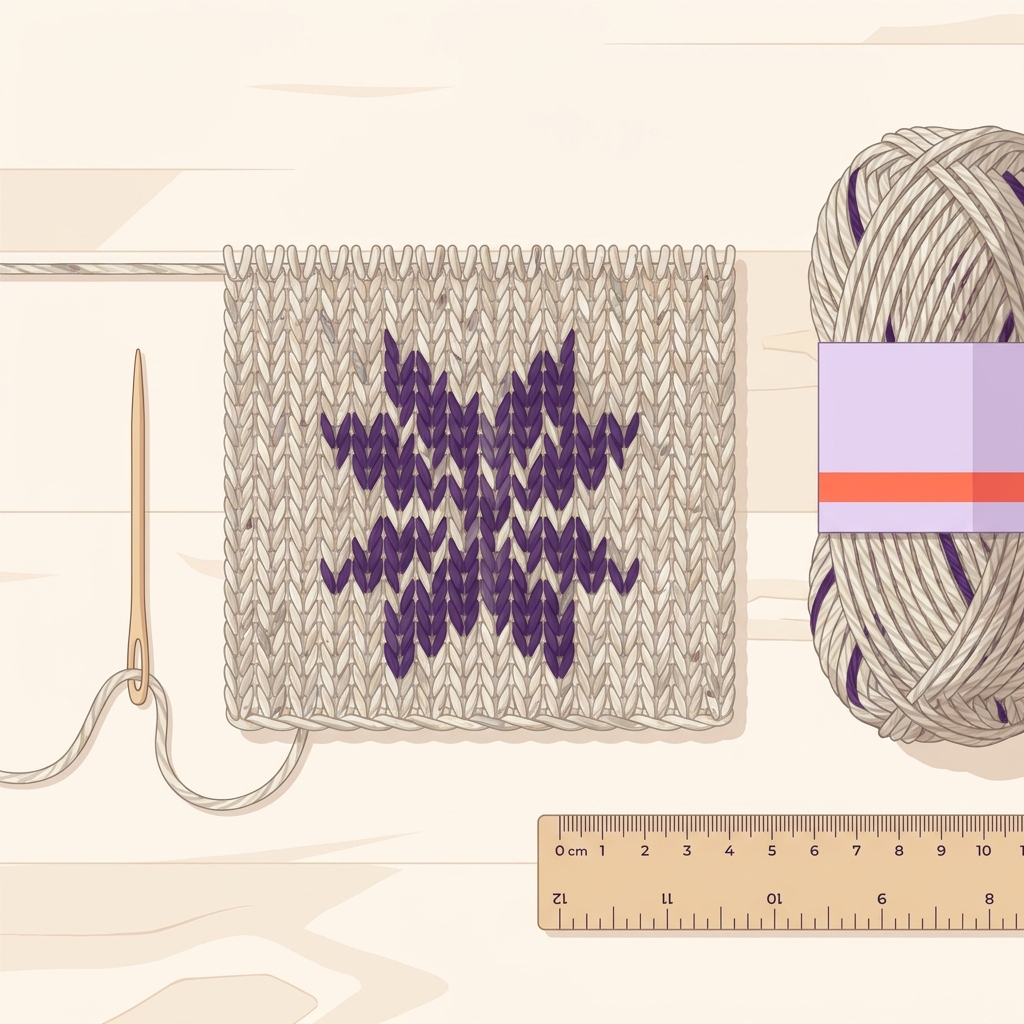
Practise the named knit and purl movements separately on a counted sample. Compare the loops with the maker’s demonstration and recheck gauge before moving a newly learned technique into a sized project.
Try the method on a sample
Related skills
When you are ready for another pattern, keep its instructions visible and record where you stop. Our knitting-marker guide explains ways to mark a working position. Choose needle size from the actual pattern and yarn, then verify the result on a swatch.